How to setup eMail on Microsoft Outlook 2016
Introduction: This article will show you how to configure Microsoft Outlook 2016 with your email account(s) using the POP or IMAP protocol. The following tutorial is provided as a courtesy to our customers to help you configure your Microsoft Outlook Email client software to work with our hosting solutions.
Before you start, you'll need the following:
- Host Name: mail.yourdomain.com (Replace yourdomain.com with your domain name.)
- User Name: email@yourdomain.com (Replace email@yourdomain.com with your email address.)
- Password: Your Email Password
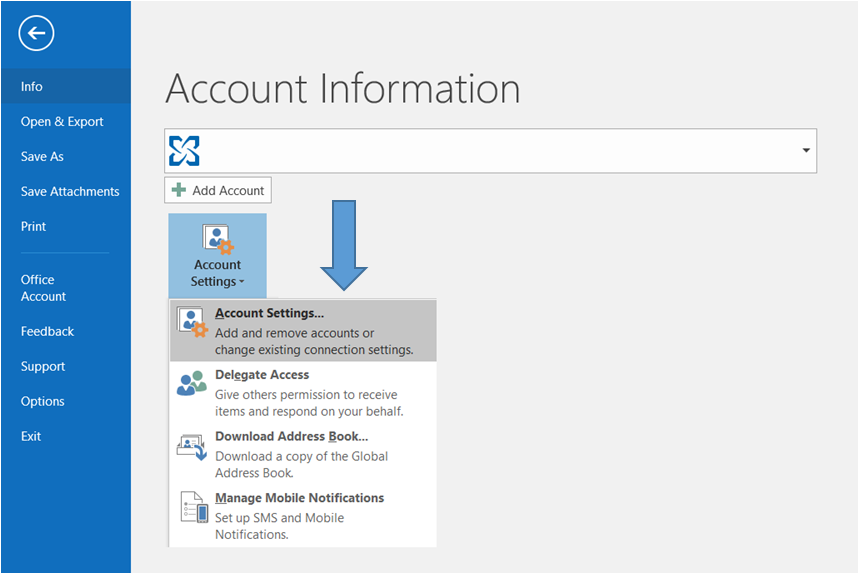
1. Click the
File tab in the upper right corner of the application window.
2. Next - click
Account Settings and select the first option labeled
Account Settings
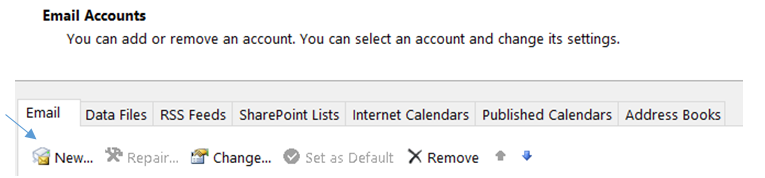
3. Click the
New button - under the
Email tab.
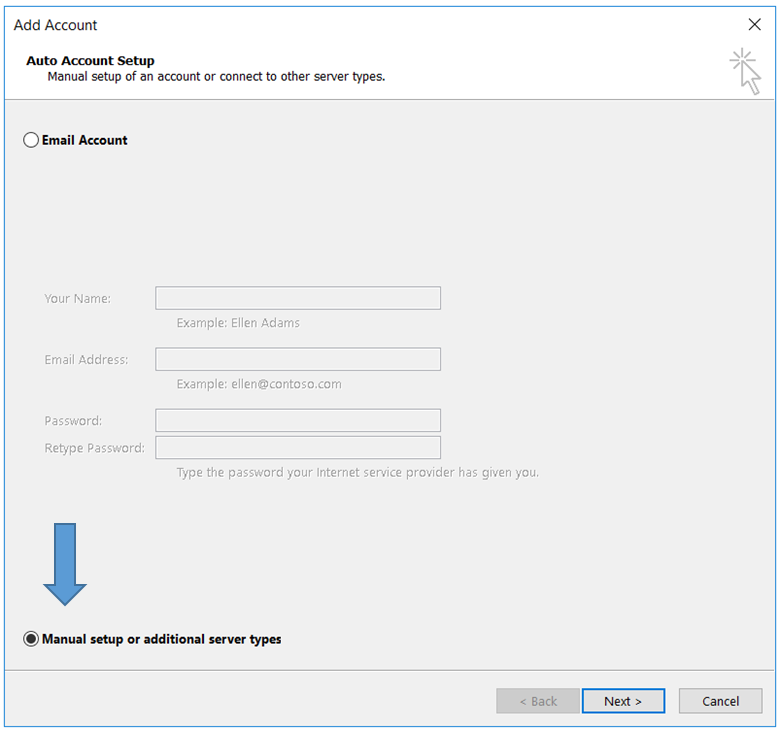
4. Under the
Add Accounts panel - choose
Manual setup or additional server types
5. Select the option labeled
POP or IMAP
6. Enter Your Name, Email Address, the Server Information, and Login Information as noted below.
7. Make sure to enter your information and do not leave any fields empty, then click the More Settings button.
Incoming Mail Server
- Host Name: mail.yourdomain.com (Replace yourdomain.com with your domain name.)
- User Name: email@yourdomain.com (Replace email@yourdomain.com with your email address.)
- Password: Your Email Password
Outgoing Mail Server (SMTP)
- Host Name: mail.yourdomain.com (Replace yourdomain.com with your domain name.)
- User Name: email@yourdomain.com (Replace email@yourdomain.com with your email address.)
- Password: Your Email Password
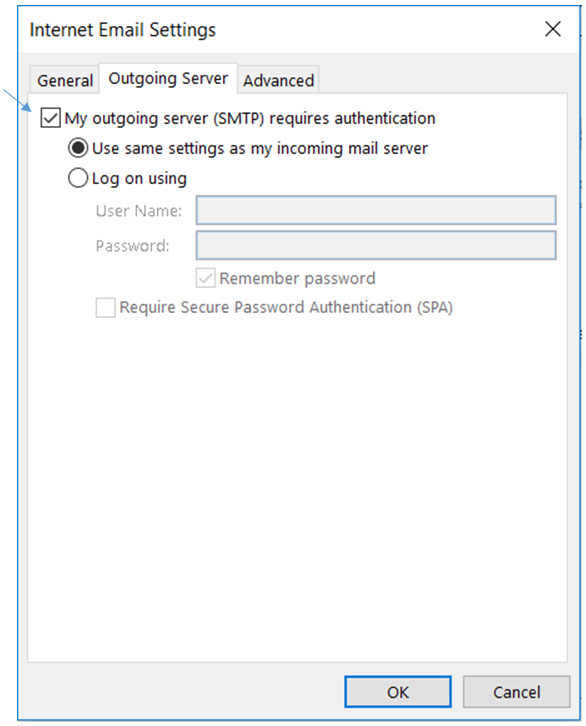
After clicking More Settings, the
Internet Email Settings panel is displayed.
8. Select
My outgoing server (SMTP) requires authentication, under the
Outgoing Server tab.
9. Click
OK to save the entered information.
10. Click
Next to test the configuration and set up the email account.
The Test Account Settings panel will display, while the account configuration settings are verified.
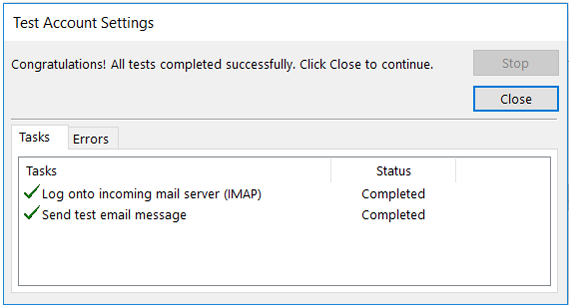
11. If the tests under Tasks tab display as Status: Completed, then click Close and Finish.
YOU ARE DONE!
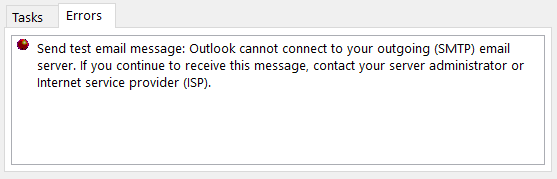
If an error is displayed, reporting that the "Send test email message" failed,
then proceed to step 12 below.
12. Optional Steps (Follow the steps below to resolve a failed outgoing SMTP test.)
If you have trouble creating the account because the Outgoing email test fails, then you will need to do the following:
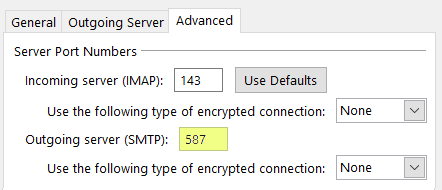
- Click the More Setting Button and select the Advanced tab.
- Update the
Outgoing server (SMTP) port setting to:
587 (it will be port 25 by default)
- After making updating the Outgoing server port, click
OK, then click
Next to test the account settings again.
The Test Account Settings panel will display, while the account configuration settings are verified.
- Upon successful completion, you will be taken back to the Mail screen and your account will now be listed within the email account panel.
We recommend that you try both sending and receiving email from Outlook, using separate email addresses - one external and one internal to your organization to verify the account was set up properly.
Please contact the INSYTE support team now if you have any questions or issues while peforming any operations outlined above.
Related help documents: